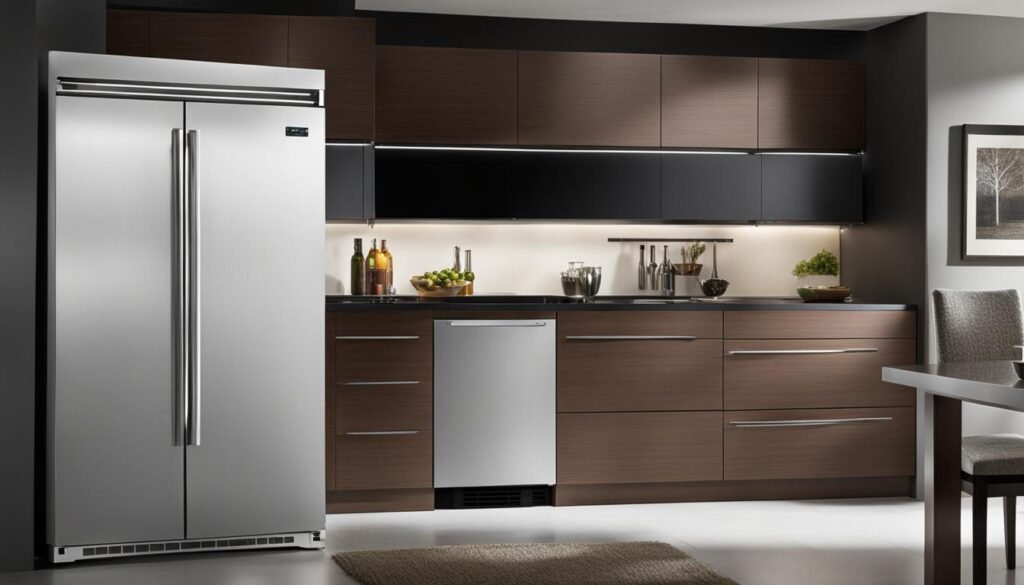
If you’re experiencing issues with your Sub Zero refrigerator, you’ve come to the right place. In this comprehensive guide, we will provide you with expert advice and proven tips and tricks for repairing your Sub Zero refrigerator. Whether you’re dealing with common problems like a malfunctioning ice maker or more complex issues, we’ve got you covered with troubleshooting tips and maintenance strategies.
At Sub Zero Repair Service, we understand the importance of having a fully functional refrigerator. That’s why we’re here to help you get your Sub Zero fridge up and running again.
Our team of skilled technicians has years of experience in Sub Zero appliance repair. We specialize in repairing Sub Zero refrigerators and have the expertise to tackle any problem that comes our way. Whether it’s a minor issue or a major repair, we’ve got you covered.
In this guide, we’ll cover everything from troubleshooting common problems to providing step-by-step instructions on how to fix them. We’ll also share maintenance tips to keep your Sub Zero refrigerator running smoothly for years to come.
Key Takeaways
- Repairing a Sub Zero refrigerator requires expert advice and proven tips.
- Common problems can include a malfunctioning ice maker and temperature issues.
- Troubleshooting tips and maintenance strategies can help fix these issues.
- Contact a licensed Sub Zero repair technician for professional assistance if needed.
- Proper safety precautions should always be followed when attempting repairs.
Troubleshooting Tips for Sub-Zero Ice Maker
If your Sub-Zero ice maker is not making ice or isn’t working, there are several potentially easily remedied problems you can troubleshoot before calling a licensed Sub Zero repair technician. Here are some troubleshooting tips:
- Check the ON/OFF switch: Refer to the owner’s manual for the location of the ON/OFF switch and make sure it is turned on. Sometimes, the ice maker may have been accidentally turned off.
- Inspect the water filter: A clogged or faulty water filter can impede the ice-making process. Consult the Sub-Zero “Use & Care” manual to learn how to replace the water filter and make sure you’re using a certified Sub-Zero filter.
- Adjust the freezer temperature: Ensure that the freezer temperature is set between 0 to 5 degrees Fahrenheit or -18 to -15 Celsius. High temperatures can cause the ice maker to stop working.
- Thaw a frozen ice maker: If the ice maker is frozen, you can unplug the refrigerator and let it thaw manually. Alternatively, you can use a hairdryer to melt any stubborn frost.
- Check the ice bin and fill tube: Make sure the ice bin or ice bucket is properly aligned. A misaligned bin can prevent the ice maker from functioning correctly. Additionally, inspect the fill tube for any obstructions.
- Examine the water supply line: Ensure that the water supply line is not kinked or disconnected. A blocked or damaged water supply line can hinder the ice-making process.
- Clear any obstructions: Check the ice chute for any obstructions that may be preventing the ice from dispensing properly.
By following these troubleshooting tips, you may be able to resolve issues with your Sub-Zero ice maker without the need for professional assistance. If the problem persists, it’s best to contact a licensed Sub Zero repair technician for further diagnosis and repair.

| Issue | Troubleshooting Tips |
|---|---|
| The ice maker is not making ice |
|
| The ice maker is not dispensing ice |
|
Servicing the Defrost Heater and Timer
The defrost heater and timer are crucial components of the refrigerator’s defrost cycle. If the defrost heater fails, it can lead to a malfunctioning ice maker and failure to defrost. To ensure proper functionality, it’s important to test and, if necessary, replace these components. Here’s a step-by-step guide on how to service the defrost heater and timer:
Testing the Defrost Timer
- Unplug the refrigerator and locate the defrost timer.
- Disconnect the wires from the defrost timer.
- Set a VOM (Volt-Ohm Meter) to the RX1 scale.
- Turn the timer control screw shaft and observe the meter reading.
- If the meter reads zero, the defrost timer is functioning properly.
- If the meter doesn’t read zero, the defrost timer needs to be replaced.
Testing the Defrost Timer Motor
- Set a VOM to the RX100 scale.
- Test the defrost timer motor by checking the meter reading.
- If the meter reads between 500 and 3,000 ohms, the motor is functioning properly.
- If the meter reading is outside this range, the defrost timer motor should be replaced.
Testing the Defrost Heater
- Set a VOM to the RX1 scale.
- Locate the defrost heater and disconnect the wires.
- Place the VOM probes on the defrost heater terminals.
- The meter should read between 5 and 20 ohms.
- If the meter reading is outside this range, the defrost heater needs to be replaced.
When replacing the defrost timer, motor, or heater, it’s important to use new components of the same type and electrical rating. This ensures compatibility and optimal performance.

| Component | Testing Method | Normal Reading | Faulty Reading |
|---|---|---|---|
| Defrost Timer | VOM set to RX1 scale | Zero when turning the control screw shaft | Non-zero reading |
| Defrost Timer Motor | VOM set to RX100 scale | Between 500 and 3,000 ohms | Reading outside this range |
| Defrost Heater | VOM set to RX1 scale | Between 5 and 20 ohms | Reading outside this range |
Testing and servicing the defrost heater and timer are essential steps in troubleshooting and resolving issues with a malfunctioning ice maker and defrost cycle. By following these guidelines and replacing faulty components, you can ensure the efficient operation of your refrigerator.
Servicing the Condenser Fan and Clearing the Drain Ports
In order to maintain optimal cooling performance of your refrigerator, it is crucial to service the condenser fan and clear the drain ports regularly. Failure to do so can result in cooling issues and potential leaks. Here are the steps to ensure these components are in good working condition:
Servicing the Condenser Fan:
The condenser fan plays a vital role in cooling the refrigerator. A malfunctioning fan can lead to inadequate cooling or inconsistent temperatures. To test the condenser fan:
- Disconnect the electrical wires connected to the fan.
- Use a VOM (Volt-Ohm Meter) set to the RX1 scale to test the fan motor.
- If the meter reads from 50 to 200 ohms, the fan motor is functioning properly.
- If the reading is outside this range, it indicates a faulty motor that needs to be replaced.
Additionally, make sure the fan blades are clean and free from any obstructions. Over time, debris such as dust and pet hair can accumulate on the blades, impeding their performance. Regularly cleaning the fan blades with a soft brush or vacuum will help maintain optimal airflow.
Clearing the Drain Ports:
The drain ports located at the bottom of the freezer and refrigerator sections can become clogged with debris or ice over time. This can lead to drainage issues during the defrosting cycle, resulting in water leaks or excess moisture. To clear the drain ports:
- Identify the drain ports located at the bottom of the freezer and refrigerator compartments.
- Using a short section of wire or a pipe cleaner, gently insert it into the ports to dislodge any debris or ice.
- Repeat this process a few times to ensure the ports are completely clear.
If your refrigerator or freezer has a different type of drain located near the defrost heater, it is advisable to seek professional assistance to avoid any potential damage or malfunction.
Lastly, inspect the drain hose and drain pan for any signs of damage such as cracks or rust. Any leaks or damages should be addressed promptly to prevent water damage to your refrigerator or surrounding areas. Replace the drain hose or realign/replace the drain pan as needed to ensure proper drainage and prevent leaks.
By regularly servicing the condenser fan and clearing the drain ports, you can maintain the performance and efficiency of your refrigerator, ensuring that it continues to cool effectively while avoiding potential leaks or drainage issues.
Conclusion
Repairing a Sub Zero refrigerator is possible by employing effective troubleshooting tips and implementing essential maintenance strategies. By following the expert advice and proven tips provided in this guide, you can potentially resolve common issues such as a malfunctioning ice maker, temperature fluctuations, and obstructed components. It is crucial to consult the owner’s manual specific to your Sub-Zero refrigerator model and utilize certified Sub-Zero replacement parts when necessary.
If you encounter difficulties in resolving the problem independently, it is highly recommended to seek professional assistance from a licensed Sub Zero repair technician. They have the expertise and experience to diagnose and fix complex issues, ensuring your Sub Zero refrigerator is restored to its optimal functionality.
When attempting repairs, always prioritize safety by practicing proper precautions, such as turning off the power before conducting any maintenance or troubleshooting procedures. With the right guidance, knowledge, and tools, you can successfully restore your Sub Zero refrigerator and enjoy its efficient performance once again.
FAQ
How can I troubleshoot my Sub-Zero ice maker?
First, check if the ice maker is turned on by referring to the owner’s manual for the location of the ON/OFF switch. You can also check for a clogged or faulty water filter and ensure the freezer temperature is set correctly. Other potential issues include misalignment of the ice bin, a blocked fill tube, a kinked or disconnected water supply line, or obstructions in the ice chute. By following these troubleshooting tips, you may be able to fix your Sub-Zero ice maker without professional help.
How do I service the defrost heater and timer?
To test the defrost timer and motor, you can use a VOM set to the appropriate scale. If the meter readings are within the specified range, the timer and motor are functioning properly. If not, they need to be replaced. The defrost heater can also be tested using a VOM. If the meter readings are within the specified range, the heater is functioning properly. If not, it needs to be replaced. It’s important to replace these components with new ones of the same type and electrical rating.
How do I service the condenser fan and clear the drain ports?
To test the condenser fan, use a VOM set to the appropriate scale. If the meter readings are within the specified range, the fan motor is functioning properly. It’s also important to ensure that the fan blades are clean and unobstructed. Additionally, clear the drain ports located at the bottom of the freezer and refrigerator sections using a short section of wire. Check the drain hose and pan for any damage and replace or realign/replace them as needed to prevent leaks.
How do I find professional assistance for Sub-Zero refrigerator repair?
If you’re unable to resolve the issue on your own, it’s recommended to contact a licensed Sub Zero repair technician for professional assistance. They have the necessary expertise to diagnose and repair complex problems with your Sub-Zero refrigerator.
What are the benefits of following troubleshooting tips and maintenance strategies for Sub Zero refrigerator repair?
Following troubleshooting tips and performing necessary maintenance can help you fix common problems with your Sub Zero refrigerator. By correctly diagnosing and addressing these issues, you can save time and money on professional repairs. Additionally, regular maintenance can help prevent future problems and ensure your refrigerator is running efficiently.


