Thermador vent hoods are renowned for their high-quality craftsmanship and reliable performance, making them a popular choice for many kitchens. However, like any appliance, they may require repair and maintenance over time. In this step-by-step guide, we will provide you with quick and effective solutions to common Thermador vent hood issues. Whether you’re dealing with a malfunctioning motor, a clogged filter, or a broken light, we’ve got you covered. By following these troubleshooting steps, you can ensure your Thermador vent hood continues to function at its peak performance and provides you with long-lasting service.
Key Takeaways:
- Thermador vent hoods require regular maintenance for optimal performance.
- Common issues include a non-functioning hood, noisy motor, and faulty lights.
- DIY repairs can save time and money for minor issues.
- Professional technicians should be contacted for major malfunctions or complex repairs.
- Regular cleaning and inspection will ensure your Thermador vent hood lasts longer.
Common Thermador Vent Hood Issues and Troubleshooting Solutions
If your Thermador vent hood is experiencing any of the following issues, the first step is to troubleshoot the problem. Common problems include a hood that doesn’t turn on, a noisy motor, a non-functioning light, or a filter that needs to be replaced. By identifying the specific issue and following the appropriate troubleshooting steps, you can often resolve the problem without the need for professional repair.
Here are some common Thermador vent hood issues and their troubleshooting solutions:
- Hood doesn’t turn on: Check the power supply to ensure it’s connected properly. Inspect the control buttons to make sure they are not stuck or damaged. Clean the hood surface to remove any dirt or debris that may be obstructing the control panel.
- Noisy motor: A motor that makes unusual noises may indicate wear or a loose part. Check the motor and tighten any loose screws. If the noise persists, professional repair may be required.
- Non-functioning light: If the light in your Thermador vent hood doesn’t work, check the bulb to see if it needs to be replaced. If the bulb is fine, inspect the wiring and connections to ensure they are secure. If necessary, consult a professional for further assistance.
- Filter replacement: Over time, the filters in your Thermador vent hood may become clogged with grease and debris. Refer to the product manual to locate and remove the filters. Clean or replace them as recommended by the manufacturer.
By addressing these issues promptly, you can prevent further damage and ensure the longevity of your Thermador vent hood. Remember to consult the product manual for specific instructions and safety precautions.
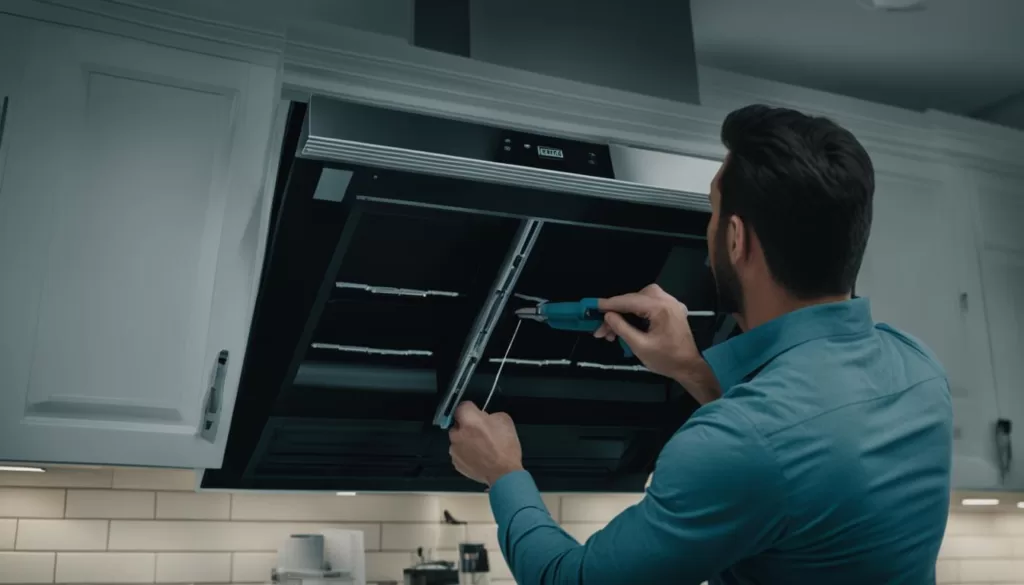
DIY Thermador Vent Hood Repair Tips
If your Thermador vent hood is experiencing minor issues, there’s no need to panic. With a few simple DIY repairs, you can save time and money. Let’s explore some common problems and their troubleshooting solutions.
Replacing a Damaged Light Bulb
If your vent hood light isn’t turning on, it’s possible that the light bulb needs to be replaced. Follow these steps:
- Turn off the power to the vent hood.
- Remove the old light bulb carefully.
- Insert a new compatible light bulb, making sure it’s securely in place.
- Restore power and test the light.
Cleaning a Clogged Filter
A clogged filter can reduce the efficiency of your Thermador vent hood. Here’s how you can clean it:
- Switch off the power to the hood.
- Locate the filter and remove it.
- Use warm soapy water to clean the filter, ensuring all grease and debris are removed.
- Rinse the filter thoroughly and allow it to dry completely.
- Reinstall the filter and restore power to the vent hood.
Tightening Loose Screws
If you notice any loose screws on your Thermador vent hood, it’s important to tighten them to maintain its stability. Follow these steps:
- Identify the loose screws on the vent hood.
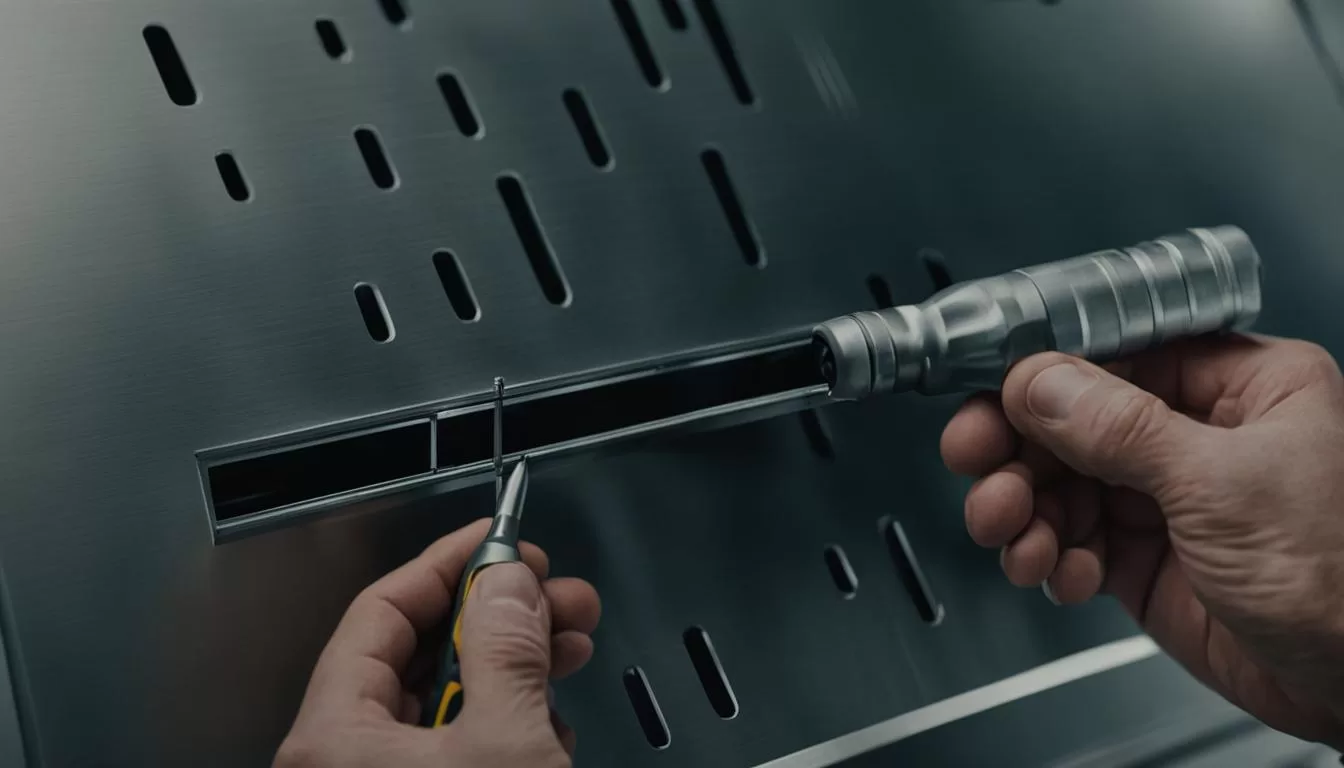
- Using a screwdriver or appropriate tool, tighten the screws until they are secure.
- Check other areas of the vent hood for any additional loose screws and tighten as needed.
Regular cleaning and maintenance of your Thermador vent hood can contribute to its longevity. Here are some additional tips to keep your vent hood in optimal condition:
- Clean the hood surface regularly to remove grease and dust buildup.
- Grease moving parts, such as the fan and motor, to ensure smooth operation.
- Inspect the filters regularly and clean or replace them when necessary.
By following these DIY repair tips and practicing proper maintenance, you can extend the lifespan of your Thermador vent hood and keep it running efficiently.
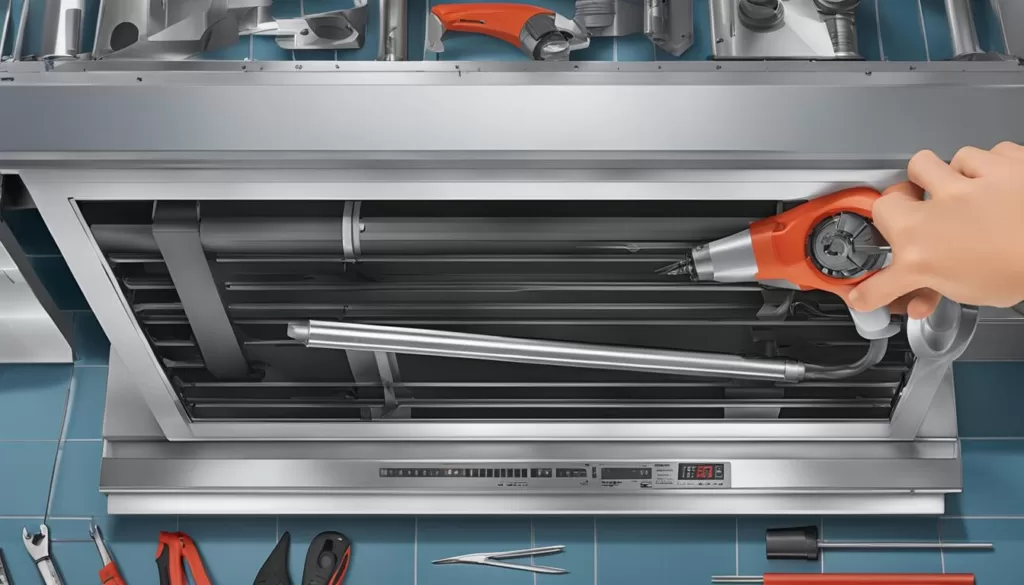
| Common Vent Hood Repairs | DIY Solutions |
|---|---|
| Light Bulb Replacement | Replace the damaged light bulb by following the steps outlined above. |
| Clogged Filter | Clean the filter using warm soapy water and reinstall it. |
| Loose Screws | Tighten any loose screws using a screwdriver or appropriate tool. |
When to Call a Thermador Vent Hood Repair Technician
While DIY repairs can resolve many common Thermador vent hood issues, there are certain situations where it’s best to call a professional technician. If you’re experiencing major malfunctions, electrical problems, or complex repairs, it’s important to seek the expertise of a trained technician who specializes in Thermador vent hood repair. They have the knowledge, experience, and tools to diagnose and fix the issue effectively. Additionally, if your vent hood is still under warranty, it’s always recommended to contact the manufacturer or an authorized service provider to ensure the repair is covered and done correctly. A professional technician can also provide advice on vent hood installation, maintenance tips, and any warranty-related questions or concerns.
When facing significant vent hood issues, it is crucial to reach out to a professional repair technician. Attempting to fix complex problems on your own can lead to further damage and the risk of electrical hazards. By relying on the expertise of a qualified technician, you can ensure a safe and efficient resolution to your Thermador vent hood issues.
If your Thermador vent hood is still within its warranty period, contacting the manufacturer or an authorized service provider is essential. They can repair the hood without any additional cost, provided that the repairs fall under the warranty terms and conditions. Additionally, professional technicians can offer valuable advice on vent hood installation to ensure optimal performance and avoid potential future issues. They have the necessary knowledge and training to address any warranty-related questions or concerns you may have.
Why Call a Thermador Vent Hood Repair Technician:
- Expertise: Trained technicians specialize in Thermador vent hood repair and have extensive knowledge of the product’s inner workings, allowing them to accurately diagnose and repair complex issues.
- Experience: Repair technicians have years of experience dealing with various vent hood problems, making them adept at finding effective solutions.
- Tools and Equipment: Professional technicians have access to specialized tools and equipment required for diagnosing and repairing vent hood malfunctions.
- Warranty Coverage: Contacting the manufacturer or an authorized service provider ensures that any repairs are within warranty coverage, saving you potential out-of-pocket expenses.
- Installation Advice: Technicians can provide guidance on proper vent hood installation, ensuring optimal performance and preventing future issues.
- Maintenance Tips: Repair technicians can offer valuable maintenance tips to help you keep your Thermador vent hood in excellent condition, prolonging its lifespan.
By seeking the assistance of a Thermador vent hood repair technician, you can save time, money, and avoid unnecessary frustration. They have the knowledge, skills, and resources to address complex problems, guaranteeing a fast and effective resolution. Whether it’s major malfunctions, electrical issues, or warranty-related concerns, a professional technician is your best bet for restoring your Thermador vent hood to its full functionality.
Situations Requiring Thermador Vent Hood Repair Technician
| Situation | When to Call a Technician |
|---|---|
| Major malfunctions | If the vent hood fails to function properly despite attempted DIY repairs. |
| Electrical problems | If there are issues with the electrical components of the vent hood, such as wiring or motor failure. |
| Complex repairs | For complicated vent hood repairs that involve technical knowledge and specialized tools. |
| Under warranty | If your Thermador vent hood is still covered by the manufacturer’s warranty, contacting an authorized repair service is recommended to ensure proper repair and coverage. |
| Installation advice | If you need guidance on vent hood installation to ensure optimal performance and safety. |
When facing significant vent hood issues or warranty-related concerns, it’s always best to consult with a professional Thermador vent hood repair technician. Their expertise, experience, and access to specialized tools can ensure an effective and efficient resolution to your vent hood problems, giving you peace of mind and a fully functional appliance.
Thermador Vent Hood Maintenance Tips for Longevity
Regular maintenance is essential for keeping your Thermador vent hood in excellent condition and extending its lifespan. By following these simple maintenance tips, you can ensure that your vent hood operates efficiently and effectively for years to come.
1. Cleaning the Hood Surface and Filters
Regularly clean the hood surface and filters to remove accumulated grease, dust, and debris. Use a mild detergent and warm water to clean the surface, and rinse thoroughly. For the filters, check the manufacturer’s instructions for the recommended cleaning method. Clean filters improve the vent hood’s performance and prevent the buildup of grease, which can lead to clogs and decreased efficiency.
2. Inspecting the Fan and Motor
Periodically inspect the fan and motor for any signs of wear and tear. Check for loose screws, worn-out belts, or unusual noises. If you notice any issues, address them promptly to prevent further damage. Tighten loose screws and replace any worn-out belts or parts. This helps maintain proper airflow and ensures the vent hood functions optimally.
3. Referring to the Product Manual
Always refer to the product manual for specific maintenance recommendations provided by the manufacturer. The manual will contain valuable information on cleaning methods, recommended replacement parts, and any other maintenance tasks specific to your Thermador vent hood model. Following the manufacturer’s guidelines will help you maintain the vent hood’s performance and extend its lifespan.
4. Pay Attention to Performance
Pay attention to the performance of your Thermador vent hood. Listen for any unusual noises, such as grinding or squeaking sounds, and inspect the vent hood for signs of decreased airflow. If you notice any issues, such as a decrease in suction power or uneven ventilation, address them promptly. Timely maintenance can prevent further damage and costly repairs in the future.
| Maintenance Task | Frequency |
|---|---|
| Cleaning the hood surface and filters | Once every 1-2 months |
| Inspecting the fan and motor | Once every 6 months |
| Referring to the product manual | As needed |
| Monitoring performance | Ongoing |
By following these maintenance tips and staying proactive about the care of your Thermador vent hood, you can ensure its longevity and continued optimal performance. Regular cleaning, inspection, and adherence to the manufacturer’s recommendations will help you avoid unnecessary repairs and keep your kitchen ventilation system running smoothly. Remember to consult the product manual for any specific instructions and refer to a professional technician for major repairs or technical issues.
Conclusion
Troubleshooting and repairing your Thermador vent hood doesn’t have to be a daunting task. By following this step-by-step guide, you can tackle common issues and keep your vent hood in top shape. Remember to consult the product manual for specific instructions and safety precautions. From troubleshooting problems to DIY repairs and maintenance tips, you have all the tools to ensure your Thermador vent hood provides you with peak performance and long-lasting service.
If you encounter complex or major issues, don’t hesitate to reach out to a Thermador vent hood repair technician for professional assistance. With their expertise and specialized knowledge, they can diagnose and fix the problem effectively. Additionally, if your vent hood is still under warranty, contacting the manufacturer or an authorized service provider is recommended.
Proper care and regular maintenance are key to the longevity of your Thermador vent hood. Make sure to clean the hood surface, filters, and grease trays regularly to remove any grease or debris buildup. Keep an eye out for any unusual noises or signs of wear and tear. By following these maintenance tips and seeking professional help when necessary, you can ensure your Thermador vent hood continues to enhance your kitchen experience for years to come.
FAQ
What are some common Thermador vent hood issues?
Common Thermador vent hood issues include a hood that doesn’t turn on, a noisy motor, a non-functioning light, or a clogged filter.
How can I troubleshoot my Thermador vent hood?
To troubleshoot your Thermador vent hood, you can check the power supply, inspect the control buttons, or clean the hood surface. If the motor is making unusual noises, it may need to be tightened or replaced.
Can I repair my Thermador vent hood myself?
Yes, there are several smaller repairs you can do yourself, such as replacing a damaged light bulb, cleaning a clogged filter, or tightening loose screws. However, for major malfunctions or complex repairs, it’s best to call a professional technician.
When should I call a professional Thermador vent hood repair technician?
It’s best to call a professional technician if you’re experiencing major malfunctions, electrical problems, or complex repairs. They have the knowledge and expertise to diagnose and fix the issue effectively.
How can I maintain my Thermador vent hood for longevity?
Regular maintenance of your Thermador vent hood is essential. This includes cleaning the hood surface, filters, and grease trays regularly, as well as inspecting the fan and motor for any signs of wear and tear.
