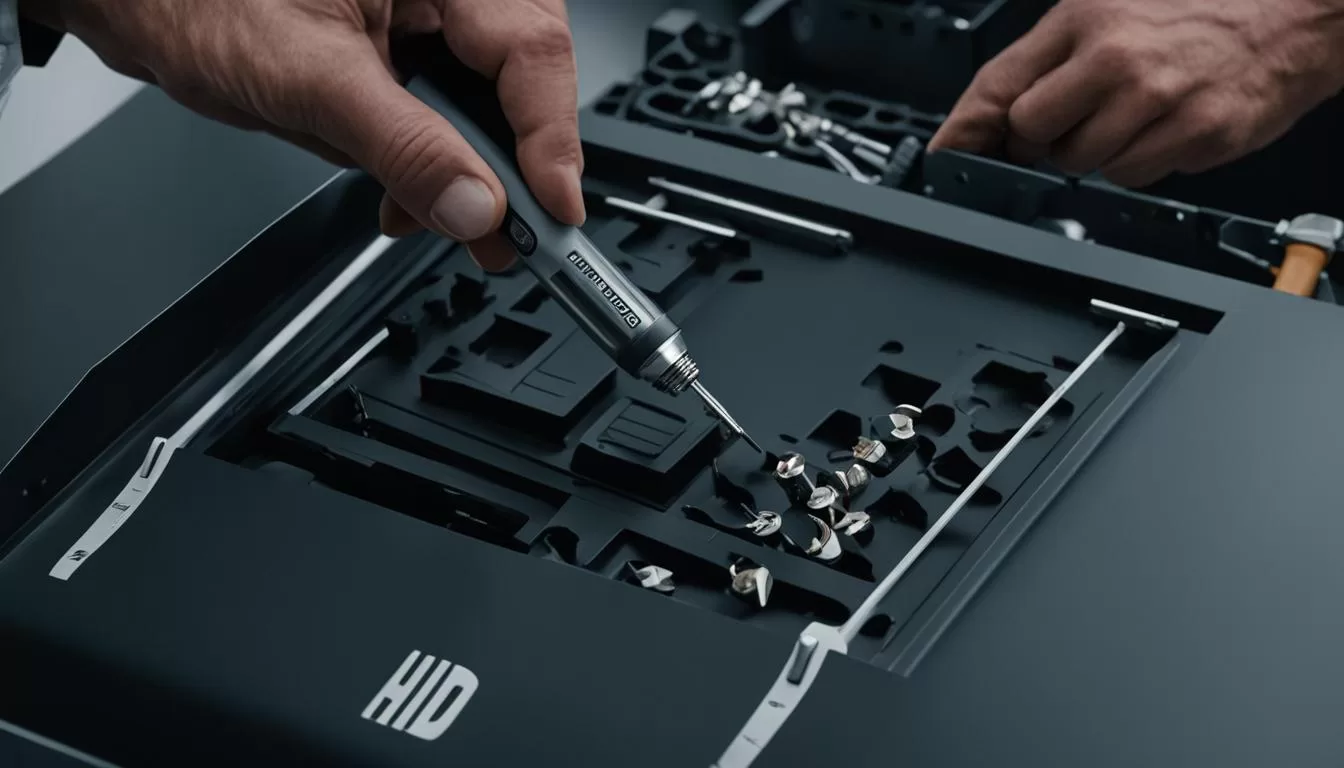
Welcome to our step-by-step guide on Thermador hood repair, service, and maintenance. If you own a Thermador PH Series Wall Hood, such as the PH30HS, PH36HS, or PH48HS, you know how essential it is for your culinary experience. Before we dive into the troubleshooting and maintenance tips, it’s crucial to familiarize yourself with the Use and Care Guide for safety information and to keep the model and serial numbers on hand when contacting customer service for assistance.
Key Takeaways:
- Thermador offers a range of PH Series Wall Hoods for improved cooking experience.
- Read the Use and Care Guide before using your Thermador hood to ensure safety.
- Have the model and serial numbers ready when contacting customer service.
Troubleshooting Thermador Hood Problems
If your Thermador hood is experiencing issues, troubleshooting can help identify and resolve the problem. Here are some common problems you may encounter with your Thermador hood:
- Issues with the hood control buttons
- Malfunctioning lights
- Filter and grease tray cleaning
To address these issues, refer to the Use and Care Guide provided by Thermador. It contains instructions on troubleshooting and replacing parts if necessary. Here are some general troubleshooting steps you can follow:
- Check the power supply: Ensure that the hood is properly connected to a power source and that the circuit breaker is in the “on” position.
- Inspect the control buttons: Make sure the control buttons are not stuck or damaged. Clean them gently with a soft, damp cloth if needed.
- Test the lights: If the lights are not functioning, check if the bulbs need replacement. Refer to the Use and Care Guide for instructions on how to replace them.
- Clean the filters and grease tray: Accumulated grease and debris can affect the hood’s performance. Remove the filters and grease tray, and clean them according to the manufacturer’s instructions.
- Ensure proper ventilation: Check if the exhaust ducts are clear and not blocked by any obstructions.
If the problem persists after troubleshooting, it’s advisable to contact a Thermador hood technician for professional assistance. They have the expertise to diagnose and repair complex issues.
For more extensive repairs or if you need to replace specific parts of your Thermador hood, you can also explore the availability of Thermador hood parts. Consult the Use and Care Guide or visit Thermador’s official website for information on authorized dealers or service centers that offer genuine parts for your specific model.
Remember, the key to resolving Thermador hood problems is to follow the manufacturer’s instructions and seek professional assistance when needed. By addressing issues promptly, you can ensure the optimal performance and longevity of your Thermador hood.
Cleaning and Maintenance Tips for Thermador Hoods
Regular maintenance and cleaning are crucial for keeping your Thermador hood in optimal functioning condition. By following these cleaning and maintenance tips, you can ensure that your hood continues to operate efficiently and effectively.
“Regular maintenance and cleaning are crucial for keeping your Thermador hood in optimal functioning condition.”
Cleaning the Hood Surface
To clean the hood surface, use a mild detergent and a soft cloth. Avoid using abrasive or harsh cleaning agents as they can damage the surface of your Thermador hood. By gently wiping the hood surface with a soft cloth and mild detergent, you can remove any grease or dirt buildup and maintain its sleek appearance.
Removing and Cleaning Filters, Filter Spacers, and Grease Trays
Over time, the filters, filter spacers, and grease trays of your Thermador hood can accumulate grease and residue. It’s important to remove and clean these components regularly to prevent blockages, maintain proper airflow, and ensure effective filtration.
- Start by turning off the hood and disconnecting the power source.
- Remove the filters, filter spacers, and grease trays according to the instructions provided in the Use and Care Guide.
- Fill a sink or basin with warm soapy water.
- Submerge the filters, filter spacers, and grease trays in the soapy water.
- Use a soft brush or sponge to gently scrub away any grease or residue.
- Rinse the components thoroughly with clean water.
- Allow the filters, filter spacers, and grease trays to dry completely before reattaching them to the hood.
Other Maintenance Tasks
Aside from cleaning, there are other maintenance tasks that you should perform on your Thermador hood to ensure its optimal performance.
- Refer to the Use and Care Guide for instructions on light replacement.
- Inspect the hood regularly for loose or damaged parts and repair or replace them as necessary.
- Check the ventilation system and ductwork for any blockages or obstructions.
- Ensure that the power cord is intact and securely connected.
By following these maintenance tips and conducting regular inspections, you can address minor issues before they escalate and maintain the longevity of your Thermador hood.
Summary of Thermador Hood Cleaning and Maintenance Tips
| Cleaning and Maintenance Tasks | Frequency |
|---|---|
| Clean hood surface with mild detergent and soft cloth | As needed, when grease or dirt is visible |
| Remove and clean filters, filter spacers, and grease trays | Every 2-3 months, or as needed |
| Inspect and replace lights | As needed, when lights are dim or non-functioning |
| Check for loose or damaged parts | Every 6 months |
| Inspect ventilation system and ductwork | Every 6 months |
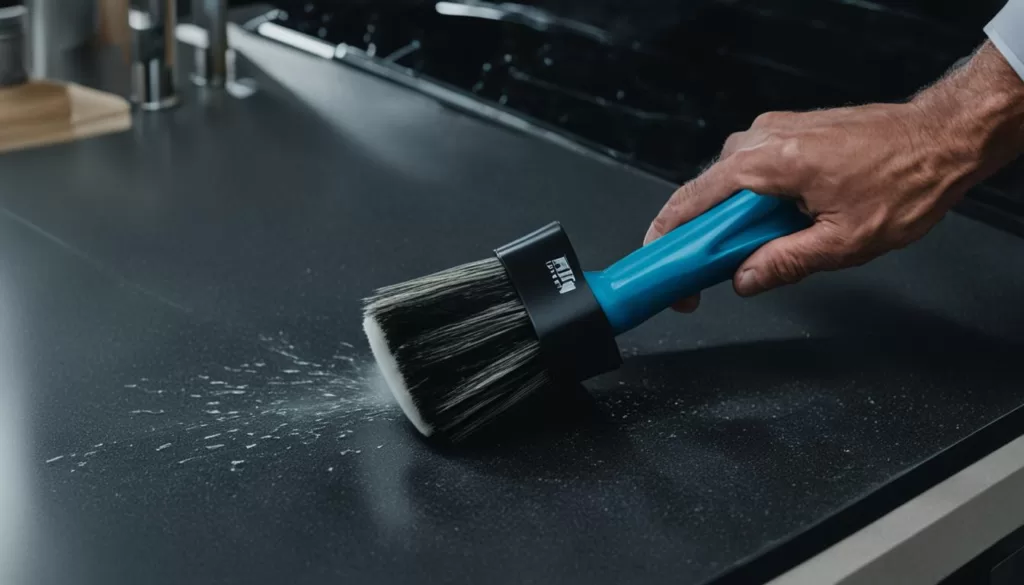
Regular cleaning and maintenance of your Thermador hood will not only extend its lifespan but also enhance its performance. By following these tips, you can keep your kitchen environment clean and fresh while enjoying the benefits of a properly functioning range hood.
Thermador Hood Installation Guidelines
Proper installation of your Thermador hood is essential for optimal performance and safety. To ensure a hassle-free installation process, it is recommended to follow the installation guidelines provided in the Use and Care Guide.
When installing your Thermador hood, it is crucial to securely mount it and properly connect it to the power source. This will prevent any potential accidents and ensure that the hood operates efficiently. By adhering to the installation instructions, you can enjoy the benefits of a well-functioning and reliable Thermador hood in your kitchen.
If you are not familiar with hood installation, it is advisable to hire a professional technician who specializes in Thermador range hood service. They have the necessary experience and expertise to perform a correct and safe installation, minimizing the risk of any potential issues or damage.
By entrusting the installation of your Thermador hood to a professional, you can have peace of mind knowing that your hood is installed properly and that it will provide efficient ventilation and extraction for your cooking needs.
For more detailed instructions and information on the installation process, refer to the Use and Care Guide that comes with your Thermador hood.
Advantages of Professional Thermador Hood Installation
- Proper and secure mounting of the hood
- Correct connection to the power source
- Reduced risk of accidents or damage
- Ensure optimal performance and functionality
Maximizing Performance with Thermador Hoods
To maximize the performance of your Thermador hood, there are a few key factors to consider. By following these tips, you can ensure that your hood is effectively removing smoke, steam, and odors from your kitchen.
Use the Highest Fan Speed
When cooking with high heat or engaging in processes that generate a significant amount of smoke and odors, it is recommended to use the highest fan speed setting on your Thermador hood. This will help to quickly and efficiently ventilate your kitchen, providing a more pleasant cooking experience.
Regularly Clean and Replace Filters
To maintain optimal airflow and filtration, it is important to regularly clean and replace the filters in your Thermador hood. Accumulated grease and debris can hinder the hood’s performance, so be sure to follow the manufacturer’s instructions for cleaning or replacing the filters. This will help to ensure that your hood continues to effectively remove impurities from the air in your kitchen.
Ensure Proper Sizing of the Hood
Another crucial aspect of maximizing your Thermador hood’s performance is ensuring that it is properly sized for your cooking area. A hood that is too small may struggle to effectively remove smoke and odors, while a hood that is too large may be unnecessarily loud and consume more energy. Consult the manufacturer’s guidelines to determine the appropriate hood size for your kitchen.
By implementing these tips, you can optimize the performance of your Thermador hood and enjoy a cleaner and more pleasant cooking environment. Remember to consult the Use and Care Guide for further maintenance instructions and reach out to Thermador’s range hood service if you encounter any issues.
| Benefits of Maximizing Performance | |
|---|---|
| 1 | Improved air quality in your kitchen |
| 2 | Reduced odors and smoke accumulation |
| 3 | Enhanced cooking experience |
| 4 | Increased energy efficiency |
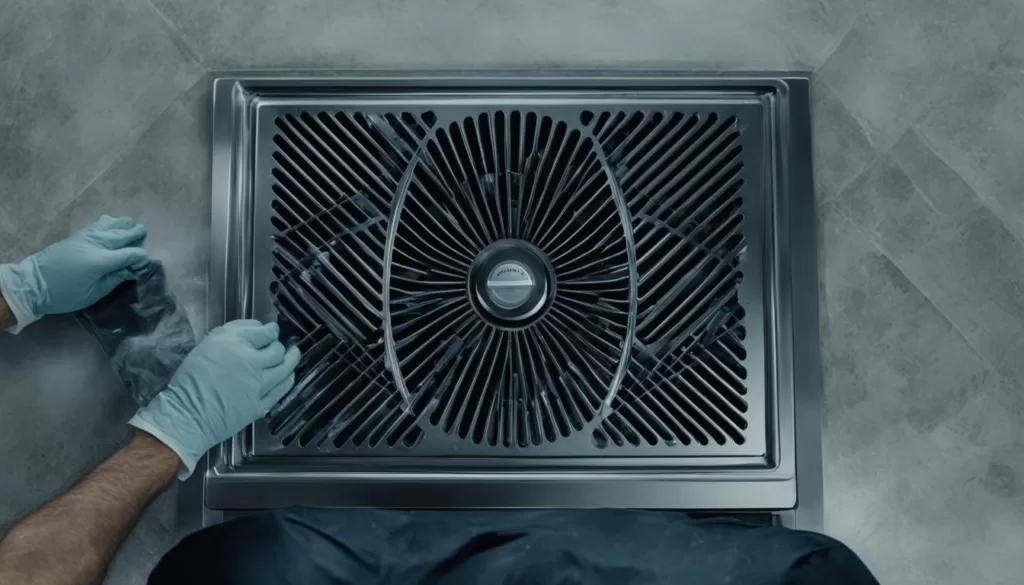
Enhancing Your Kitchen with Thermador Hood Accessories
Complete your kitchen setup with a range of high-quality accessories designed specifically for your Thermador hood. These accessories are carefully crafted to enhance your cooking experience and ensure the optimal performance of your hood. From additional filters to replacement lights and recirculation kits, Thermador offers a variety of options to meet your needs.
Consult the Use and Care Guide or reach out to our customer service team for more information on the available accessories and how to order them. Let’s explore some of the essential Thermador hood accessories:
1. Additional Filters
Maximize the filtration power of your Thermador hood with extra filters. These filters efficiently capture grease, odors, and airborne particles, ensuring clean and fresh air in your kitchen. By regularly replacing the filters, you maintain optimal airflow and maintain the performance of your hood. Here’s a table highlighting the recommended filter replacement intervals.
| Filter Type | Recommended Replacement Interval |
|---|---|
| Grease Filters | Every 6 months |
| Charcoal Filters | Every 6 months (recirculating hoods) |
2. Replacement Lights
Ensure optimal visibility while cooking by replacing the lights in your Thermador hood. These replacement lights provide bright and clear illumination, allowing you to see the entire cooking area. Refer to the Use and Care Guide for instructions on replacing the lights specific to your hood model.
3. Recirculation Kits
If your kitchen doesn’t have access to external ventilation, a recirculation kit is an ideal solution. This kit enables you to efficiently filter and recirculate the air within your kitchen, eliminating odors and maintaining a fresh cooking environment. Consult the Use and Care Guide or contact customer service to find the right recirculation kit for your Thermador hood model.
Enhance your kitchen’s functionality and elevate your cooking experience with these essential Thermador hood accessories. Install them easily, following the instructions in the Use and Care Guide, or contact our customer service team for professional assistance. Experience the ultimate convenience and performance that Thermador’s accessories bring to your kitchen.
Conclusion
Repairing and maintaining your Thermador hood is a straightforward process that doesn’t have to be complicated. By following the step-by-step guide and utilizing the tips mentioned above, you can quickly address common issues and ensure the optimal performance of your Thermador hood.
Remember to consult the Use and Care Guide for detailed instructions specific to your model, and don’t hesitate to contact Thermador customer service or a trusted Thermador hood technician for professional assistance when needed. Their expertise will help resolve any complex problems and ensure the longevity of your appliance.
With regular care and maintenance, your Thermador hood will continue to enhance your cooking experience for years to come. Enjoy the benefits of a clean and well-functioning hood, ensuring proper ventilation, elimination of odors, and a safe cooking environment. Keep your Thermador hood in top shape, and it will continue to serve you well throughout your culinary adventures.
FAQ
What are some common problems with Thermador hoods?
Common problems with Thermador hoods include issues with the hood control buttons, malfunctioning lights, or filter and grease tray cleaning.
How can I troubleshoot my Thermador hood?
To troubleshoot your Thermador hood, refer to the Use and Care Guide for instructions on troubleshooting and replacing parts if necessary. If the problem persists, it’s advisable to contact a Thermador hood technician for professional assistance.
How should I clean and maintain my Thermador hood?
To clean the hood surface, use a mild detergent and a soft cloth. For the filters, filter spacers, and grease trays, remove them and clean them with warm soapy water. Regular cleaning of these components is important to avoid build-up and ensure proper airflow.
What are the installation guidelines for Thermador hoods?
It’s recommended to follow the installation guidelines provided in the Use and Care Guide. Ensure that the hood is securely mounted and properly connected to the power source. If you are not familiar with hood installation, it’s advisable to hire a professional technician for a correct and safe installation process.
How can I maximize the performance of my Thermador hood?
To maximize performance, consider using the highest fan speed when cooking with high heat or during cooking processes that generate a lot of smoke and odors. Regularly clean and replace the filters and grease trays to maintain optimal airflow and filtration. Also, ensure that the hood is properly sized for your cooking area to effectively remove smoke, steam, and odors.
What accessories are available for Thermador hoods?
Thermador offers accessories such as additional filters, replacement lights, and recirculation kits. Consult the Use and Care Guide or contact customer service for information on available accessories and how to order them.
How do I repair my Thermador hood?
By following the step-by-step guide and utilizing the tips provided in this article, you can quickly and easily address common issues with your Thermador hood. Refer to the Use and Care Guide for detailed instructions and contact customer service or a Thermador hood technician for professional assistance when needed.
